Café en Casa: Hario V60
So, you’ve just bought a sweet bag of coffee from a local roaster, how are you going to brew it?
We are so so so happy that we can offer customers manual brew/ pour over brew method coffee. It was something we built the re-brand around. It allows us to not only showcase the specific origins but also show folks some different brew methods that they might have not seen before. We’ll start with our Hario V60 (look for our tips and how to’s on Aeropress in a future blog post).
Basic Brewing Equipment
Scale: Any kitchen scale that reads in grams will work. You can purchase a coffee scale for ~$20 on Amazon.
Timer
Kettle: A temperature adjustable electric gooseneck kettle works best but if not a stovetop kettle (water just before boiling) will work. A goosneck kettle will get you a more precise pour.
Filters
Brewing Device
Grinder: Grinding the coffee just before use is preferable over coffee that is already ground. Ground coffee can start to lose flavor and aroma as quickly as 15 minutes after grinding.
Hario V60
The tried and true pour over method by Hario of Japan. A cone style pour over method which produces a bright, clean, crisp cup of coffee. Can be used for any roast profile but shines in the lighter to medium spectrum. Currently on bar, we use our natural process Guatemala or Uganda.
Recipe
1. Set the kettle to 208°F or use a stovetop kettle just before boil. We prefer to use a higher temperature on lighter roasts to really extract out all the good stuff from the beans.
2. Grind 18 grams to a Medium setting . Each grinder will be different.
*Pro Tip : Don’t panic if you scale doesn’t read in milliliters (mL). 1 mL of water = 1 gram of water. These units can be used interchangeably with water.
Image 1 : Medium ground coffee for V60. Should be like coarse sea sand.
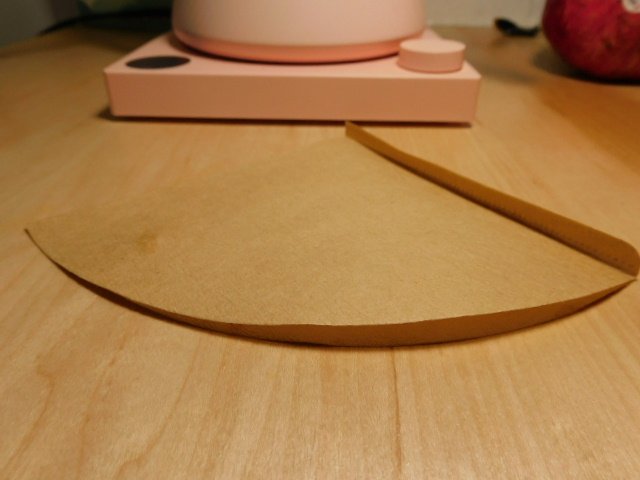
3. Fold filter roughly 1/3 inch along seam in direction of V60 cone swirl.
Image 2: Hario V60 filter paper
Image 3 : Hario V60 filter paper in cone
4. Wet filter and discard water. This will pre-heat the vessel and also wash the filter of any natural papery taste from the filter.
Image 4: Pre-wetting filter and carafe
5. Place coffee in filter and shake to flatten coffee bed. Flat coffee bed= more even extraction. Use the end of a spoon (we always have a chopstick handy) to make a little well in the middle. This will help to ensure that the water saturates evenly from the middle out again helping with even extraction.
Image 5: Ground coffee with well in the middle
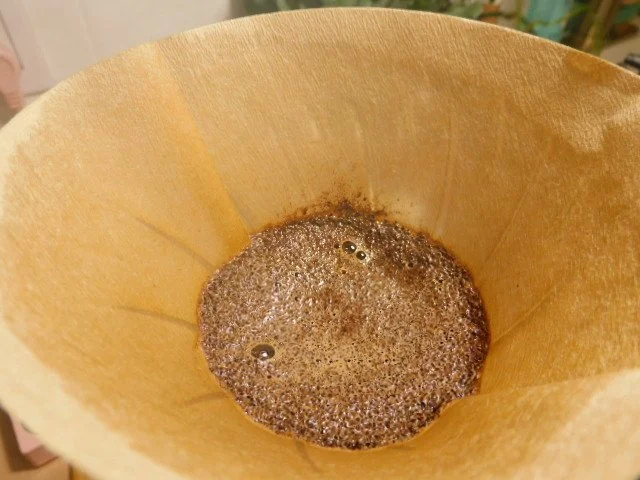
6. Start you timer and pour 50 grams of water from the middle out. This is the bloom. The bloom helps to degas any CO² left in the coffee. Freshly roasted coffee will have more CO² and tends to leave a sour note in coffee.
Image 6: Coffee Bloom
7. At the 0:30 mark, steadily pour 250 grams of water, totaling 300 grams of water, again from the middle out.
Image 7: The pour
Image 8: The drawdown with a swirl
8. At about 1:30, grab the base of the carafe and swirl the grounds to knockdown any grounds from the top of the filter. This will also help to flatten the bed.
9. Total time of brew should be 2:00 to 2:30. If you exceed 2:30 total brew time, your grind was most likely too fine. If you come in faster than 2:00 total brew time, your grind may be too coarse and you may need to adjust as necessary.
Image 9: Final Product
This is not the end all recipe for the V60. This is a simple recipe that we use at the shop and at home. Play around with it. Do multiple pours. You feel as though it needs another swirl to knock down more grounds and it tastes better, go for it.
Please feel free to come in and pick our brains. We’ll even run you through how we do it. We’re here to help you brew a better cup!


